
The Ultimate Guide to Shucking Oysters Like a Pro
Shucking oysters can seem intimidating, but with the right tools and techniques, you can easily enjoy these delectable bivalves at home. In this comprehensive guide, we’ll walk you through the steps to safely and efficiently shuck oysters, so you can savor their fresh, briny flavor like a true pro.
Shucking oysters is an art that every seafood lover should master. These delectable bivalves are a true delicacy, offering a burst of fresh, briny flavor that transports you straight to the ocean. However, the process of opening oysters can seem daunting to the uninitiated. In this ultimate guide, we’ll demystify the art of shucking oysters, providing you with the tools, techniques, and confidence you need to enjoy these culinary gems at home.
First and foremost, it’s essential to have the right equipment. A proper oyster knife is a must-have tool for any shucking endeavor. Unlike regular kitchen knives, an oyster knife features a short, thick blade that is designed to penetrate the oyster’s hinge and pry the shell open. Look for a knife with a sturdy, comfortable handle that provides a secure grip, even when wet. You’ll also want to have a kitchen towel or glove on hand to protect your non-shucking hand from the sharp shells.
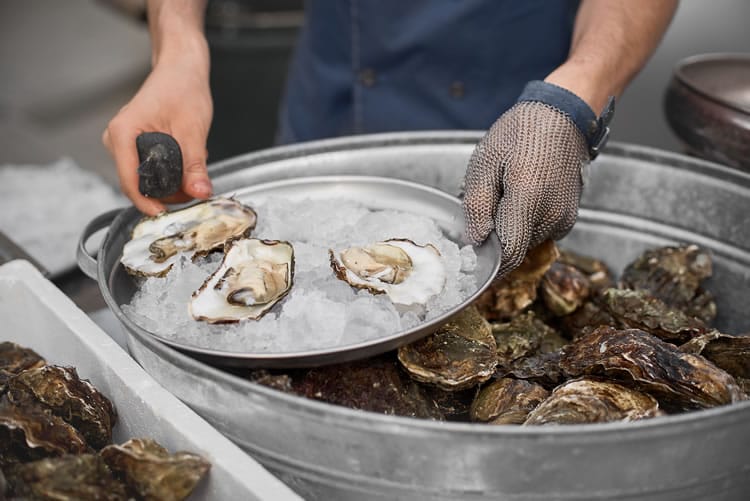
Before you begin shucking, it’s crucial to select fresh, high-quality oysters. Look for oysters that feel heavy for their size, have tightly closed shells, and smell like the ocean – clean and briny, not fishy or unpleasant. If you’re unsure about an oyster’s freshness, gently tap its shell. If it’s alive, the oyster should close its shell tightly. At Stewby’s Seafood Shanty, we pride ourselves on sourcing the freshest, locally harvested oysters, ensuring that you enjoy the best possible shucking and dining experience.
Now that you have your tools and oysters ready, it’s time to get shucking. Start by folding your kitchen towel or putting on your shucking glove to protect your hand. Then, hold the oyster firmly on a flat surface with the towel-covered hand, hinge-side facing out. Using your oyster knife, locate the hinge – the point where the top and bottom shells meet. Gently wiggle the knife tip into the hinge until you feel it catch, then apply firm, steady pressure to twist the knife and pop the hinge open.
Once you’ve cracked the hinge, slide the knife along the inside of the top shell to sever the adductor muscle that holds the shells together. Be careful not to spill the oyster’s delicious liquor (the briny liquid inside the shell) during this process. After cutting the top muscle, remove the top shell, then slide the knife underneath the oyster to cut the bottom adductor muscle, fully releasing the oyster from its shell.
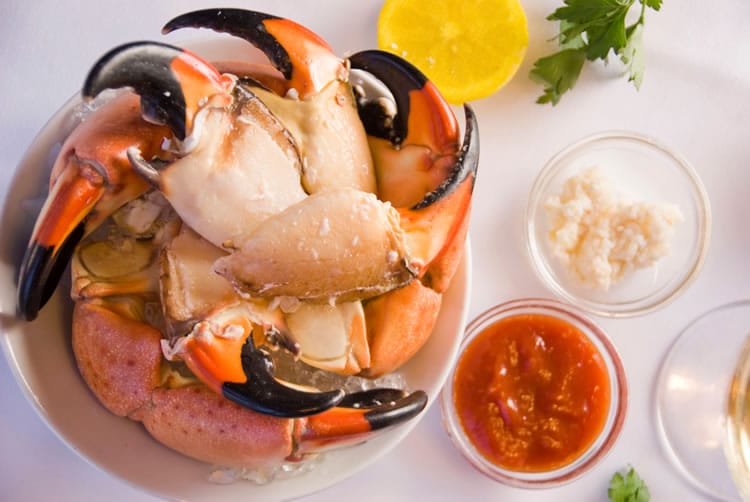
Presentation is key when serving freshly shucked oysters. Arrange the oysters on a bed of crushed ice or rock salt to keep them chilled and stable. Provide lemon wedges, hot sauce, or mignonette sauce for guests to dress their oysters as desired, but remember – the true beauty of a freshly shucked oyster lies in its pure, unadulterated flavor.
For a visual demonstration of the shucking process, check out this informative video from Bon Appétit: How to Shuck an Oyster. With a little practice, you’ll be shucking oysters like a seasoned pro in no time.
At Stewby’s Seafood Shanty, we celebrate the art of shucking by offering the freshest, locally sourced oysters and expert shucking services. Whether you’re looking to enjoy a dozen on the half-shell at our oyster bar or want to take home a bushel for your own shucking adventure, we’re here to guide you every step of the way. Visit us today and discover the joys of freshly shucked oysters – a true taste of the ocean.


 586-7001")

 586-7001")
 586-7001")

 586-7001")